Hi There! I’m here today to share a little house update. We recently added beautiful new Pottery Barn window treatments to our primary bedroom, and I have to say, they’ve completely transformed the space! Coming from a background in kitchen and bath design, this was not my key area of expertise, but I learned a lot throughout the process and I’m incredibly happy with the outcome. I now know how to choose the best window treatments for a space, how to hang them properly and how to overcome unusual space challenges. Below I’m sharing the before, the after and my very best design tips from lessons learned along the way…
Before and After: Primary Bedroom Window Treatments
This post includes affiliate links. I may make a commission at no additional cost to you.
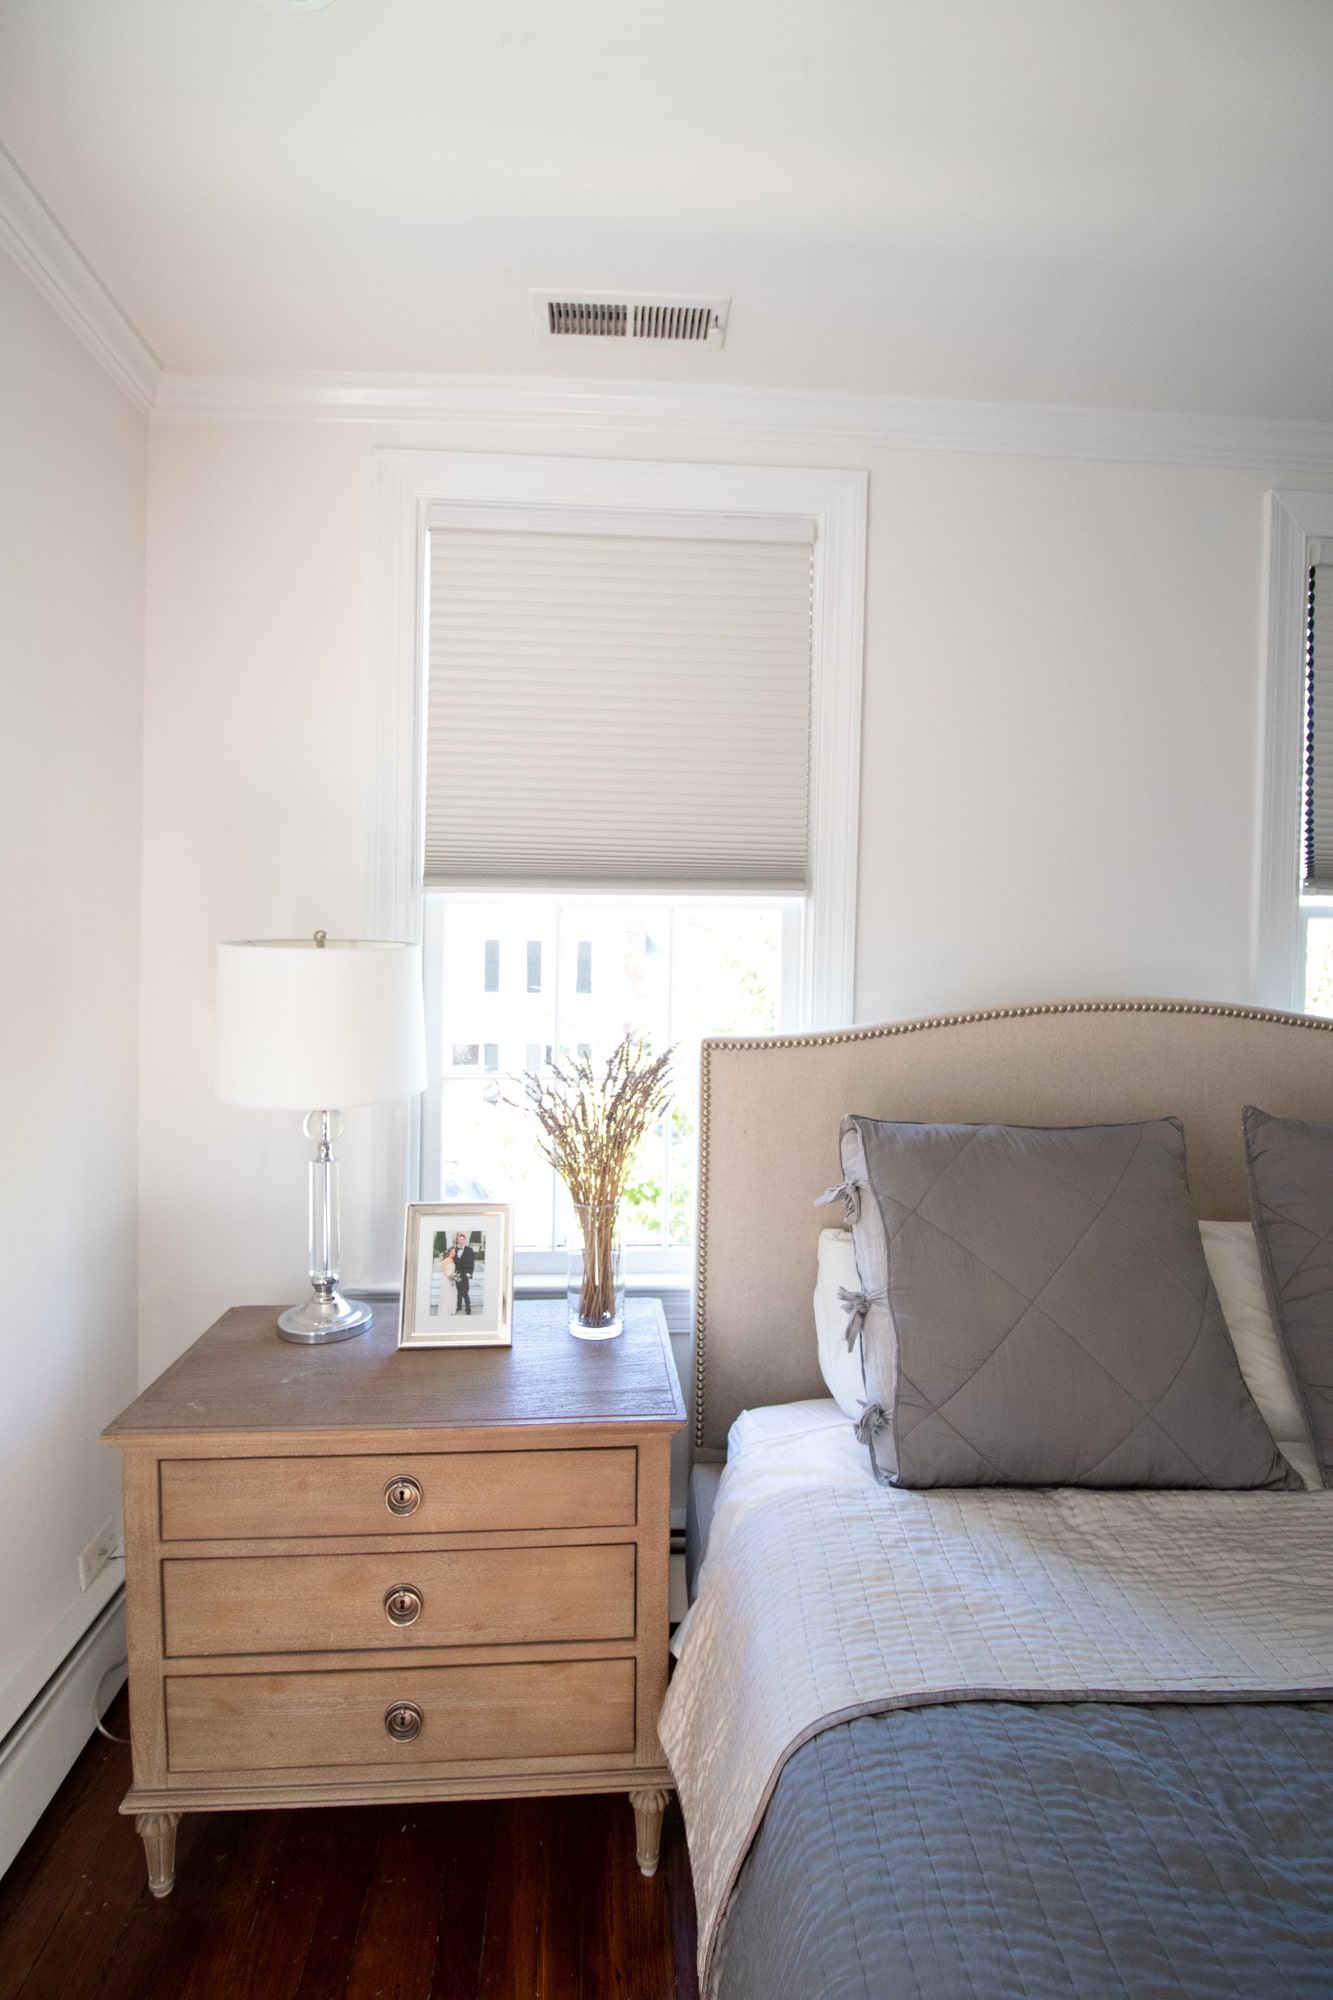
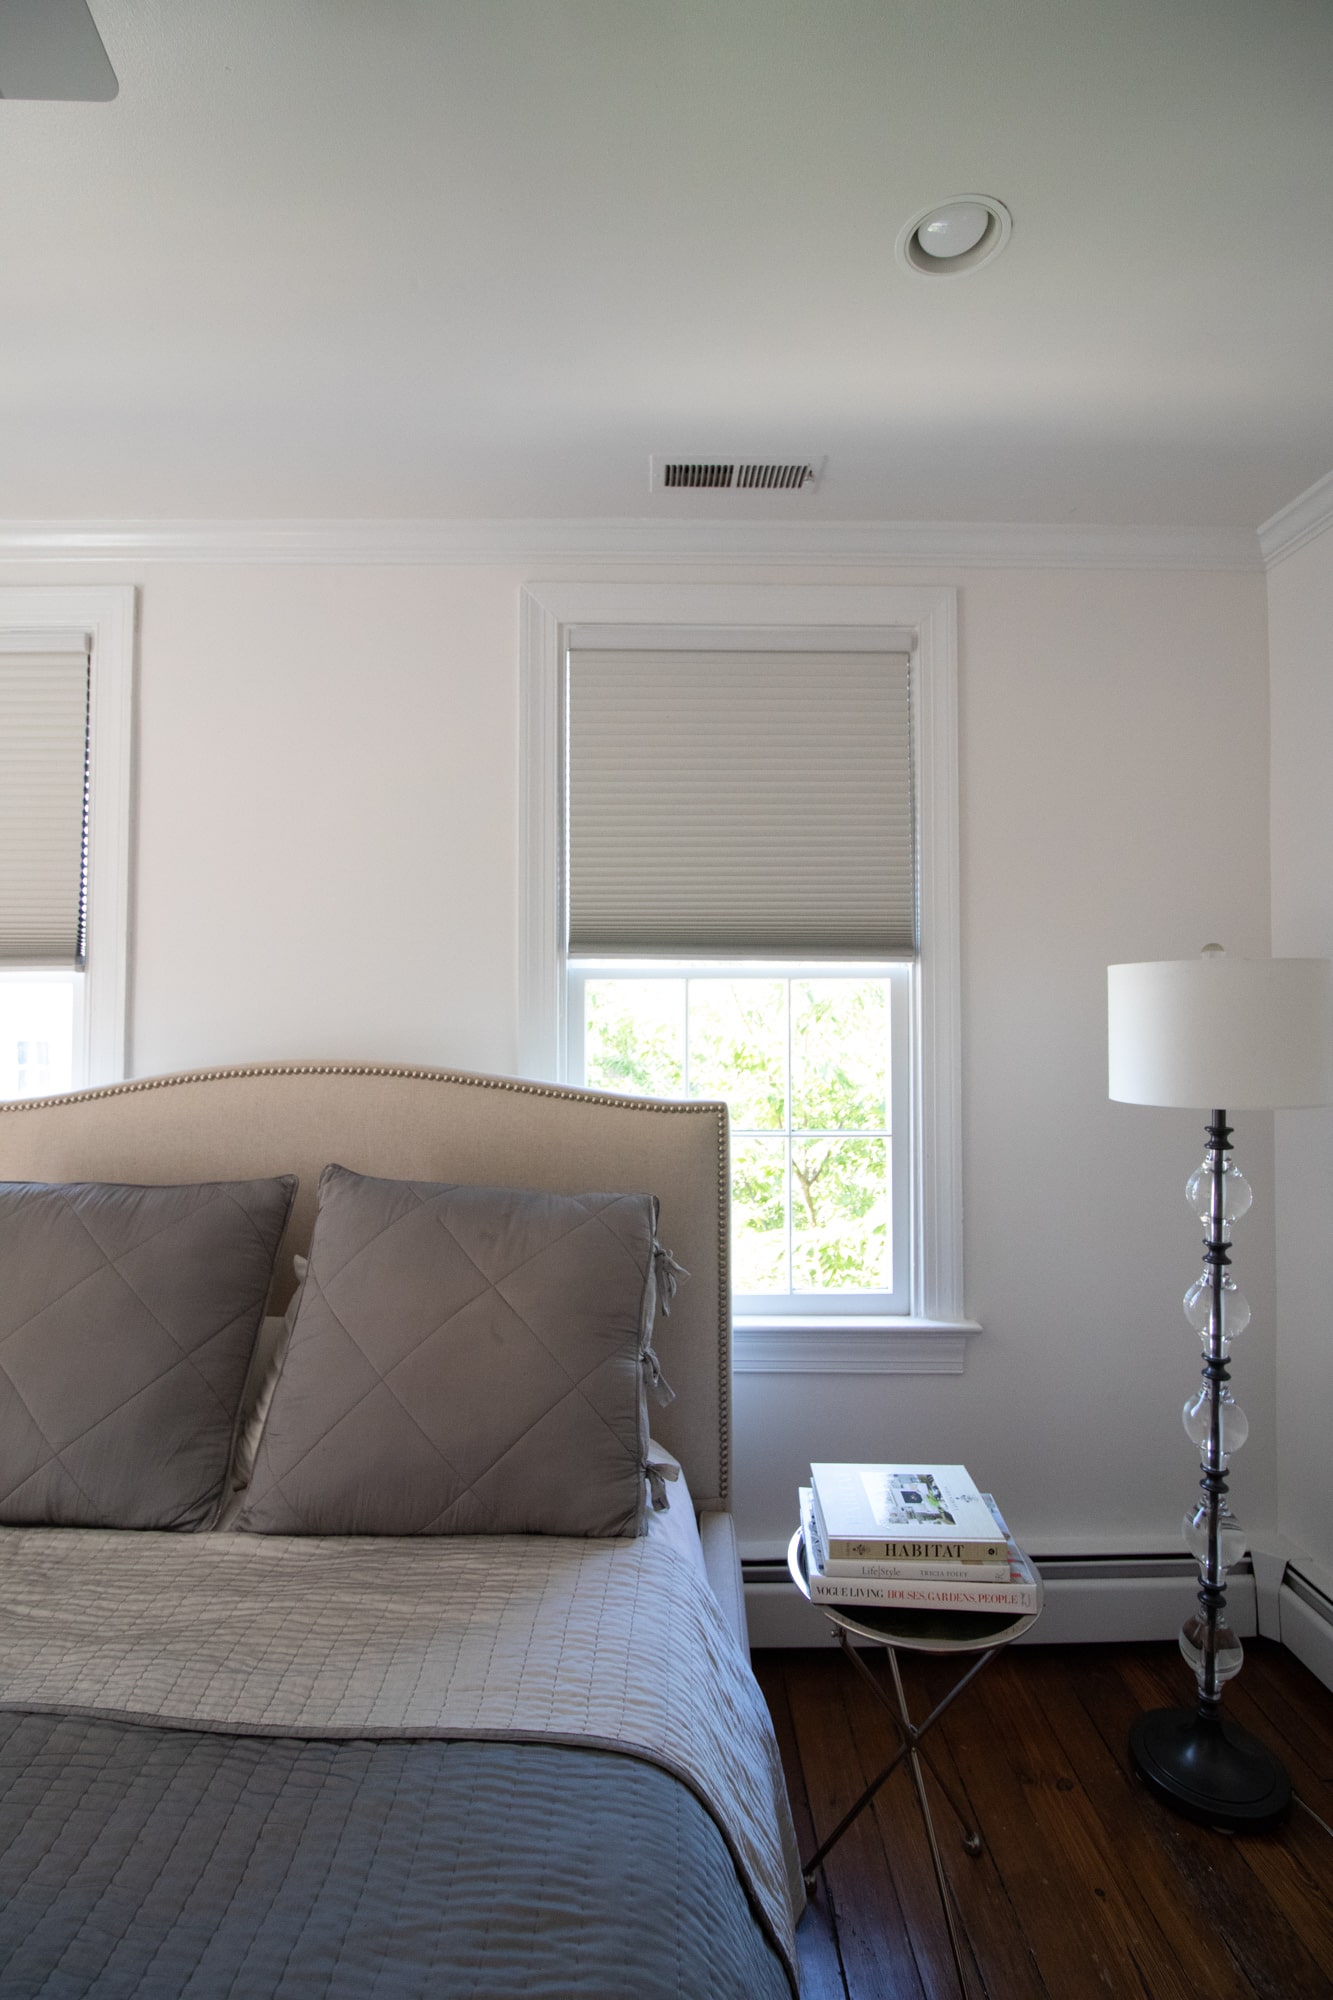
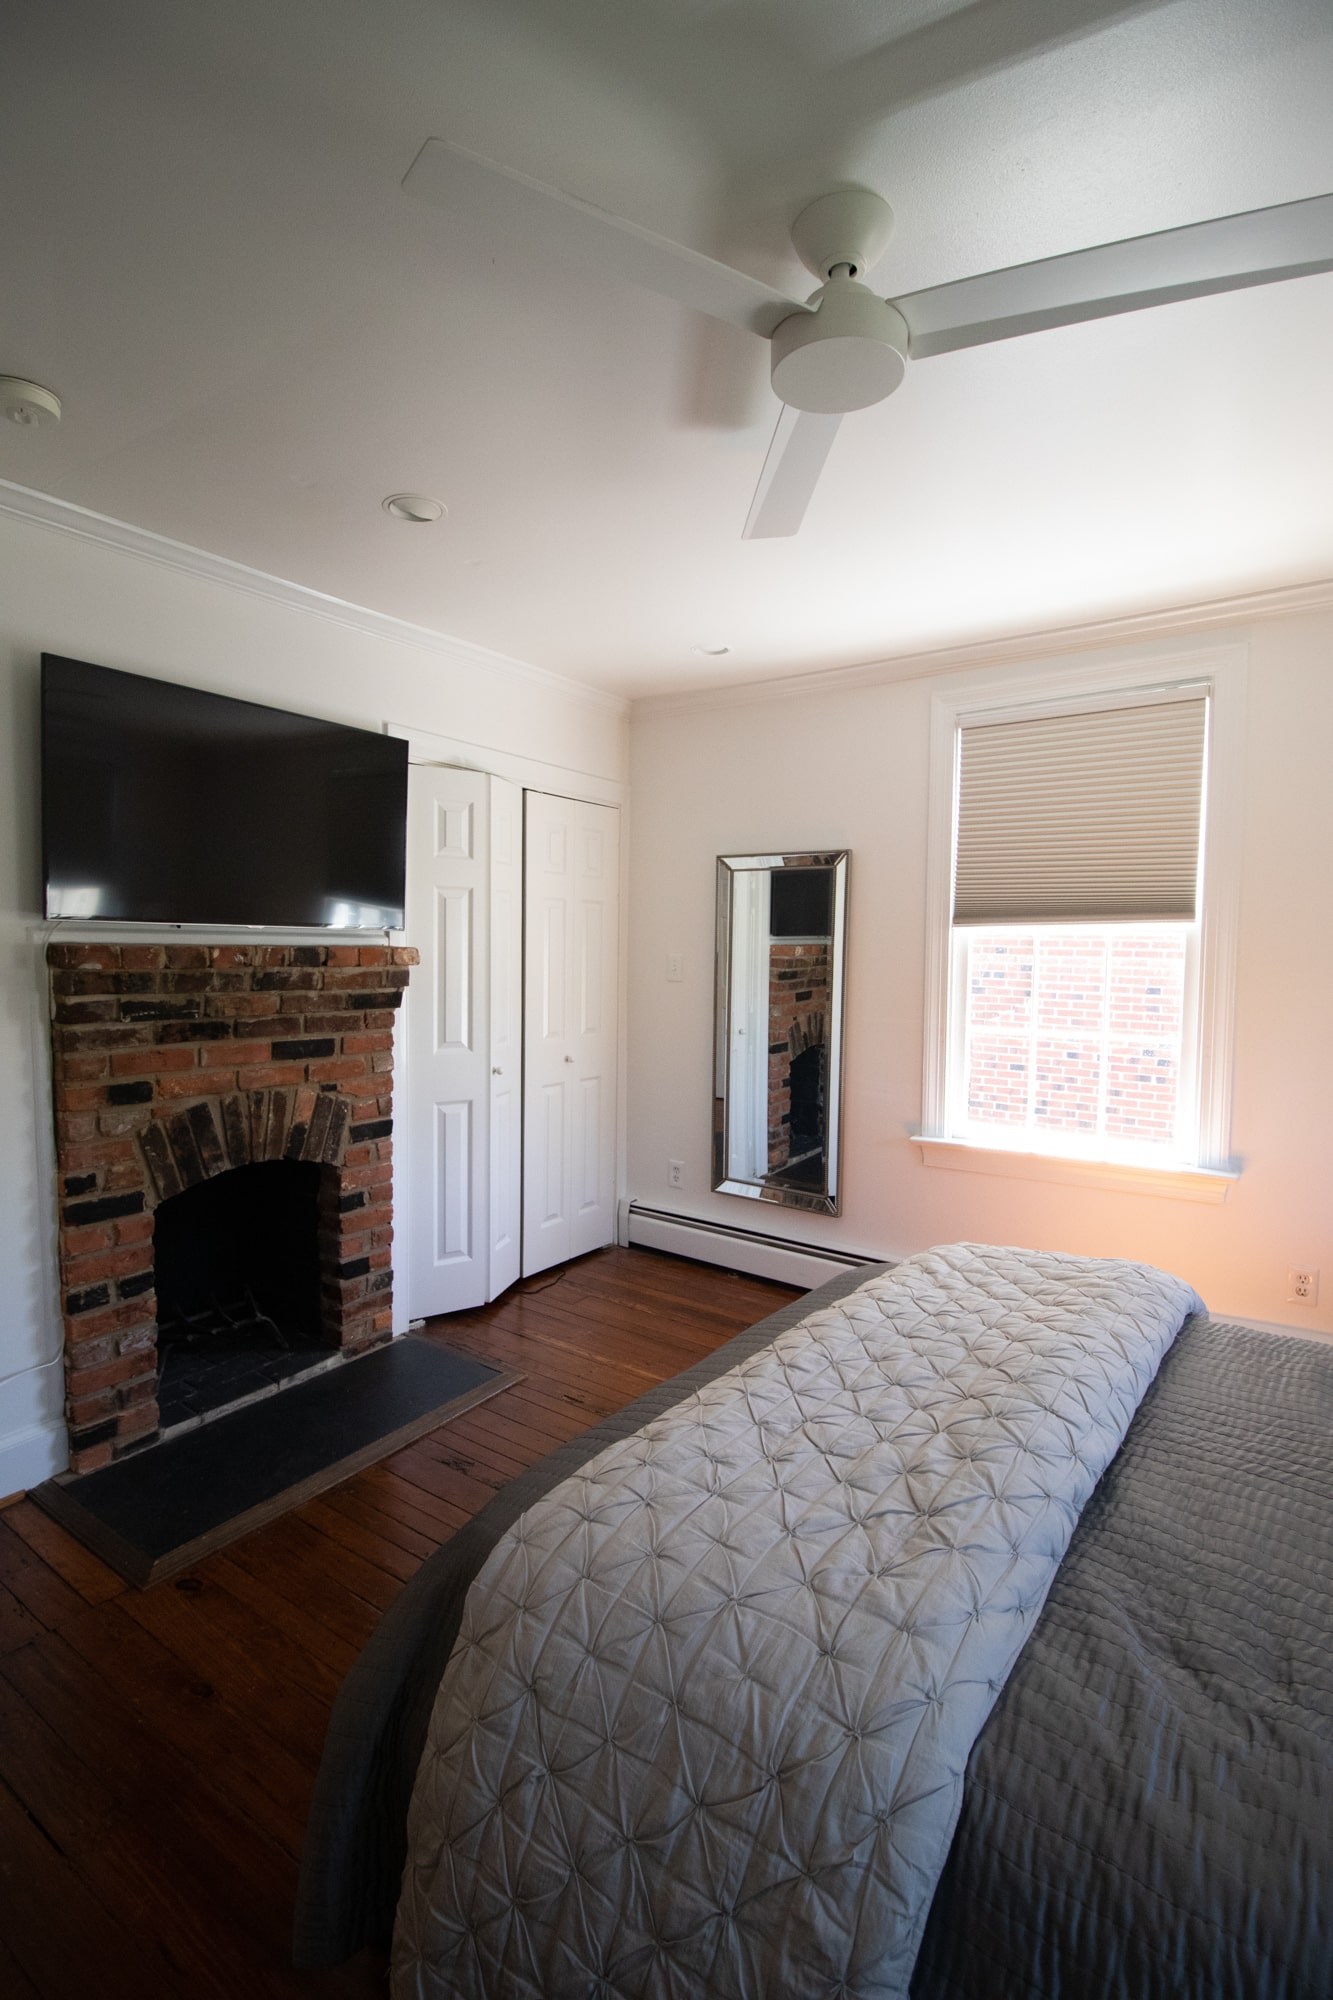
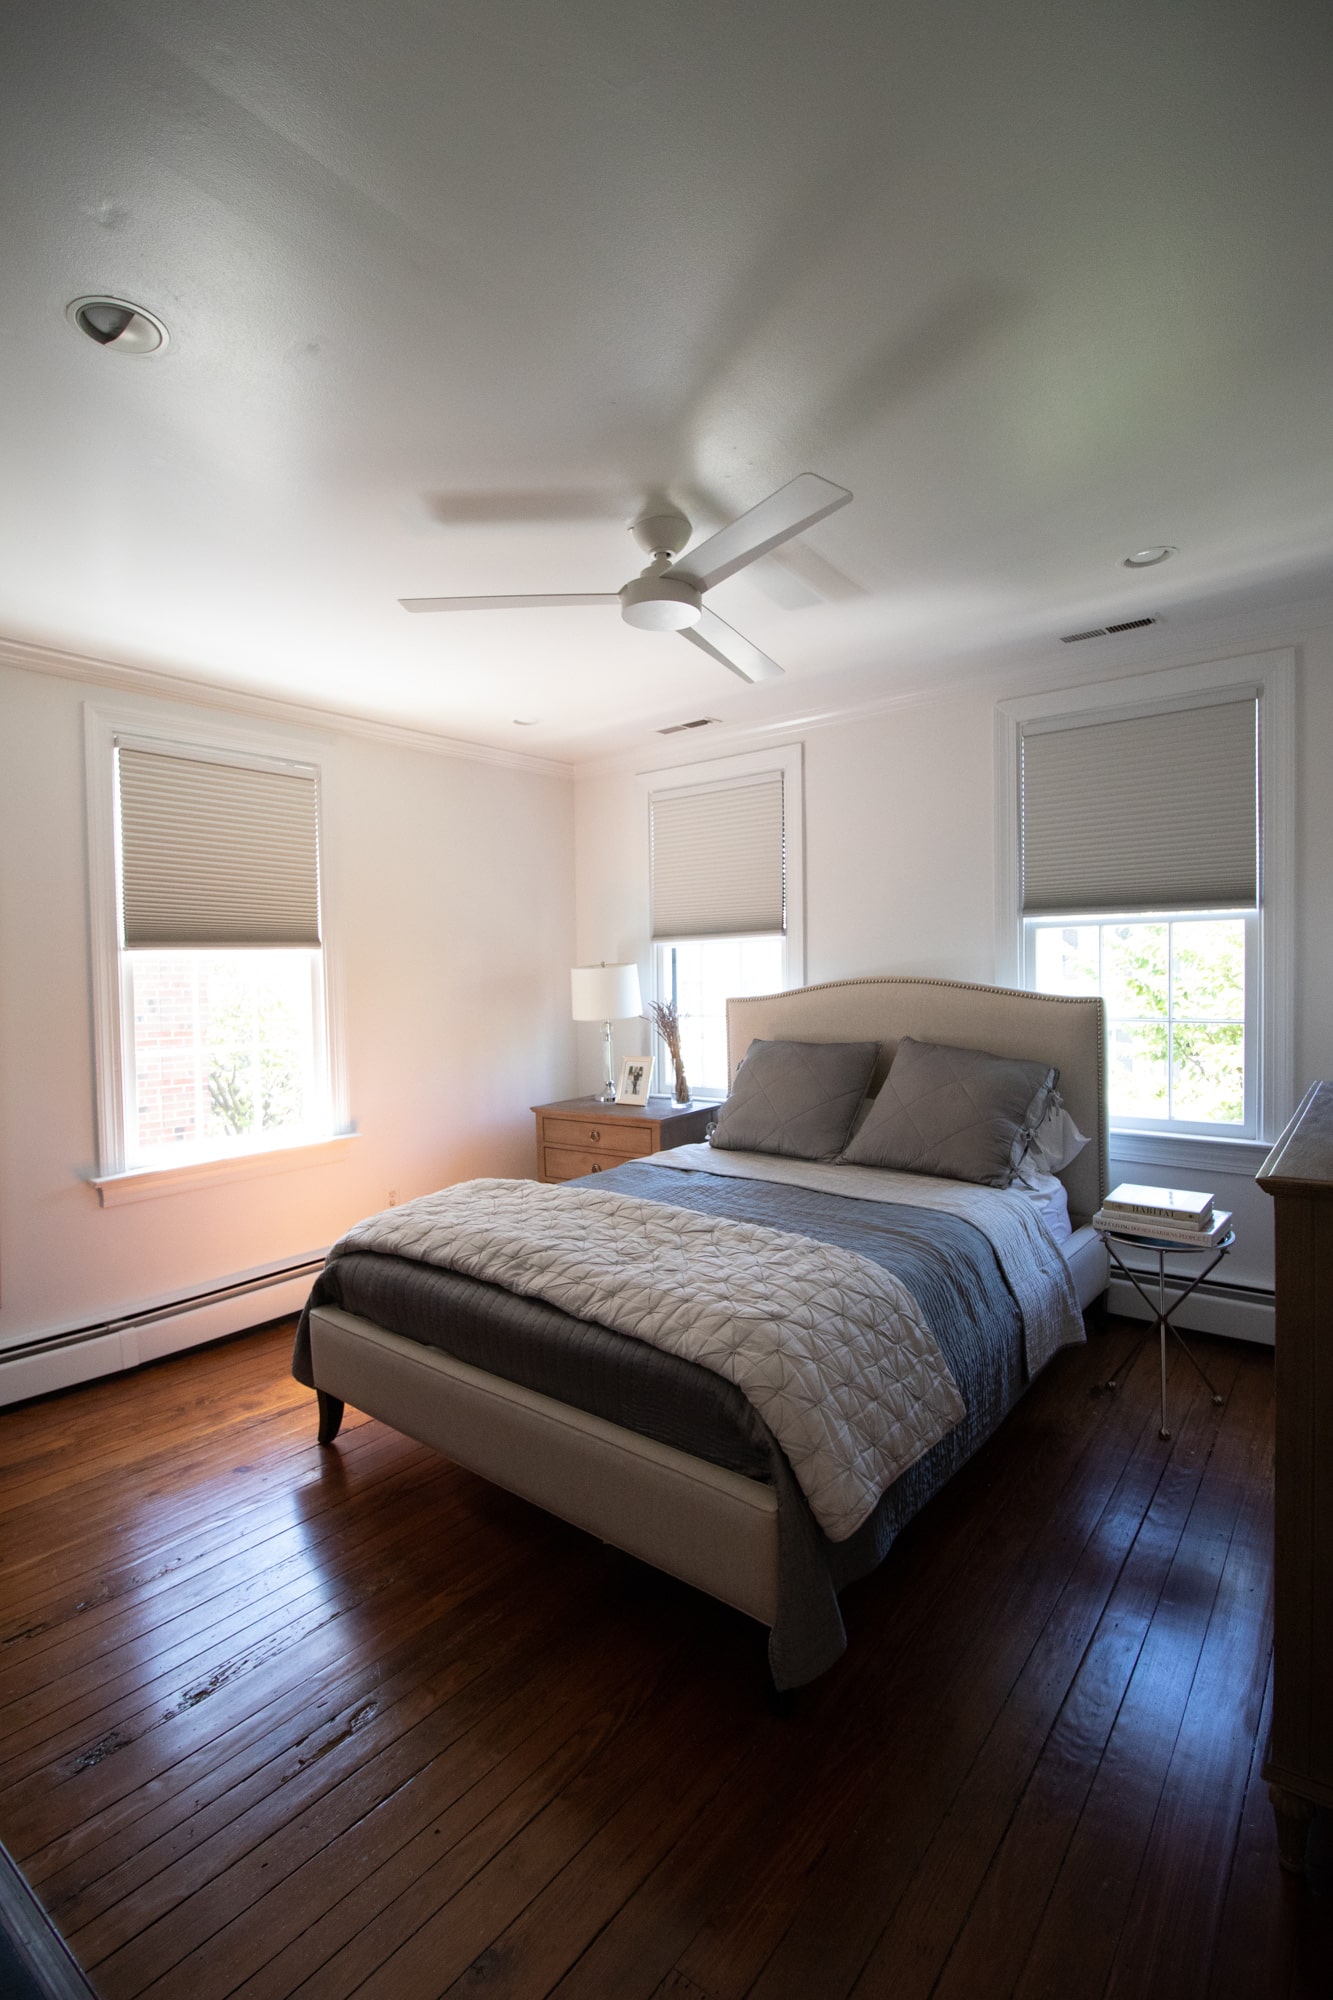
Before
Lessons Learned
Next came the research process. Should we do roman shades or curtains? For a time, I was leaning toward roman shades, but I’m glad I stuck with my gut and went with the curtains. For this particular space, curtains were the best choice. Here are a few key lessons learned:
WINDOW SIZE
Our windows were not a standard size. That meant that if we chose roman shades, we’d have to go custom. For this particular space, we preferred not to go custom.
WINDOW PLACEMENT
Our windows were centered pretty well on either side of the bed and we also had lots of space on either side for drapery panels to hang. Roman or roller shades are often a better choice when windows are oddly sized, oddly placed or difficult to reach.
FUNCTIONALITY
We focused on functionality first – and I’m glad we did because there were so many options to choose from! Putting function first was a quick way to narrow things down and to hone in on what would work best.
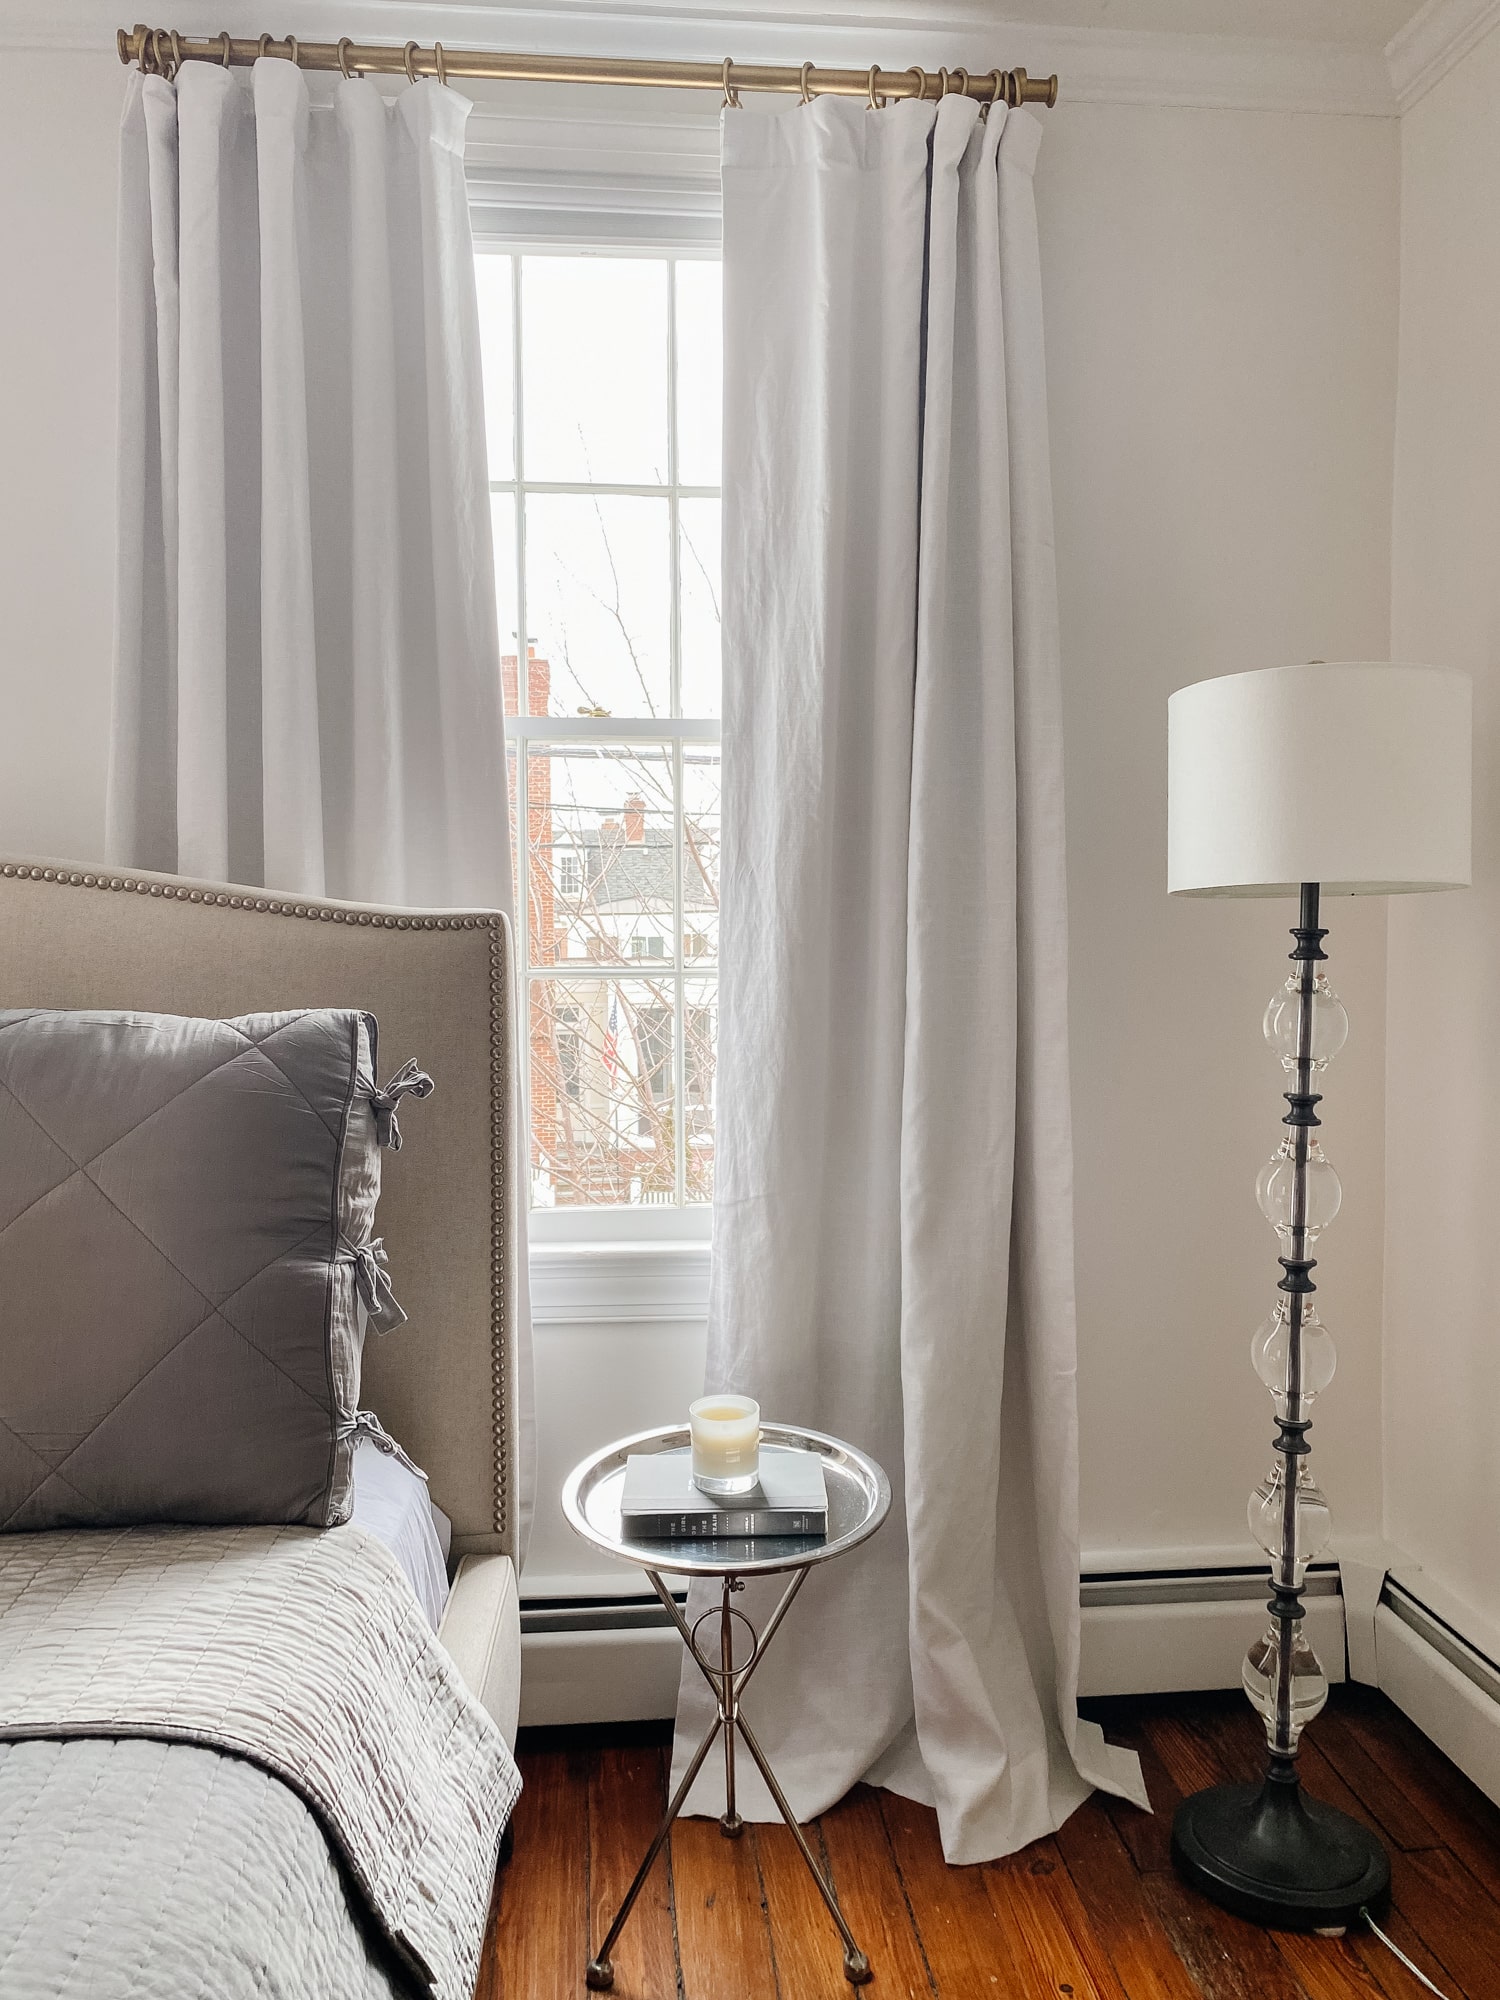
Since these drapes were going in our master bedroom, we wanted to blackout the light, so we opted for blackout curtains. Now that they’re installed, I’d say they don’t quite black out all the light, but more than enough to get a good night’s sleep.
CURTAIN ROD PLACEMENT
One little hiccup we faced was the space between the top of the window molding and the ceiling – our space totaled only about two inches. Everything I read recommend hanging the curtain rod at least 4 inches above the top of the window molding, but that just wasn’t an option for us. We finally decided to just hang them as high we could and not concern ourselves with that rule too much.
Now that they’re installed they look great to me – so lesson learned, if you don’t have at least 4 inches of space above your window, no sweat! Just go as high as you can, and they should still turn out looking great!
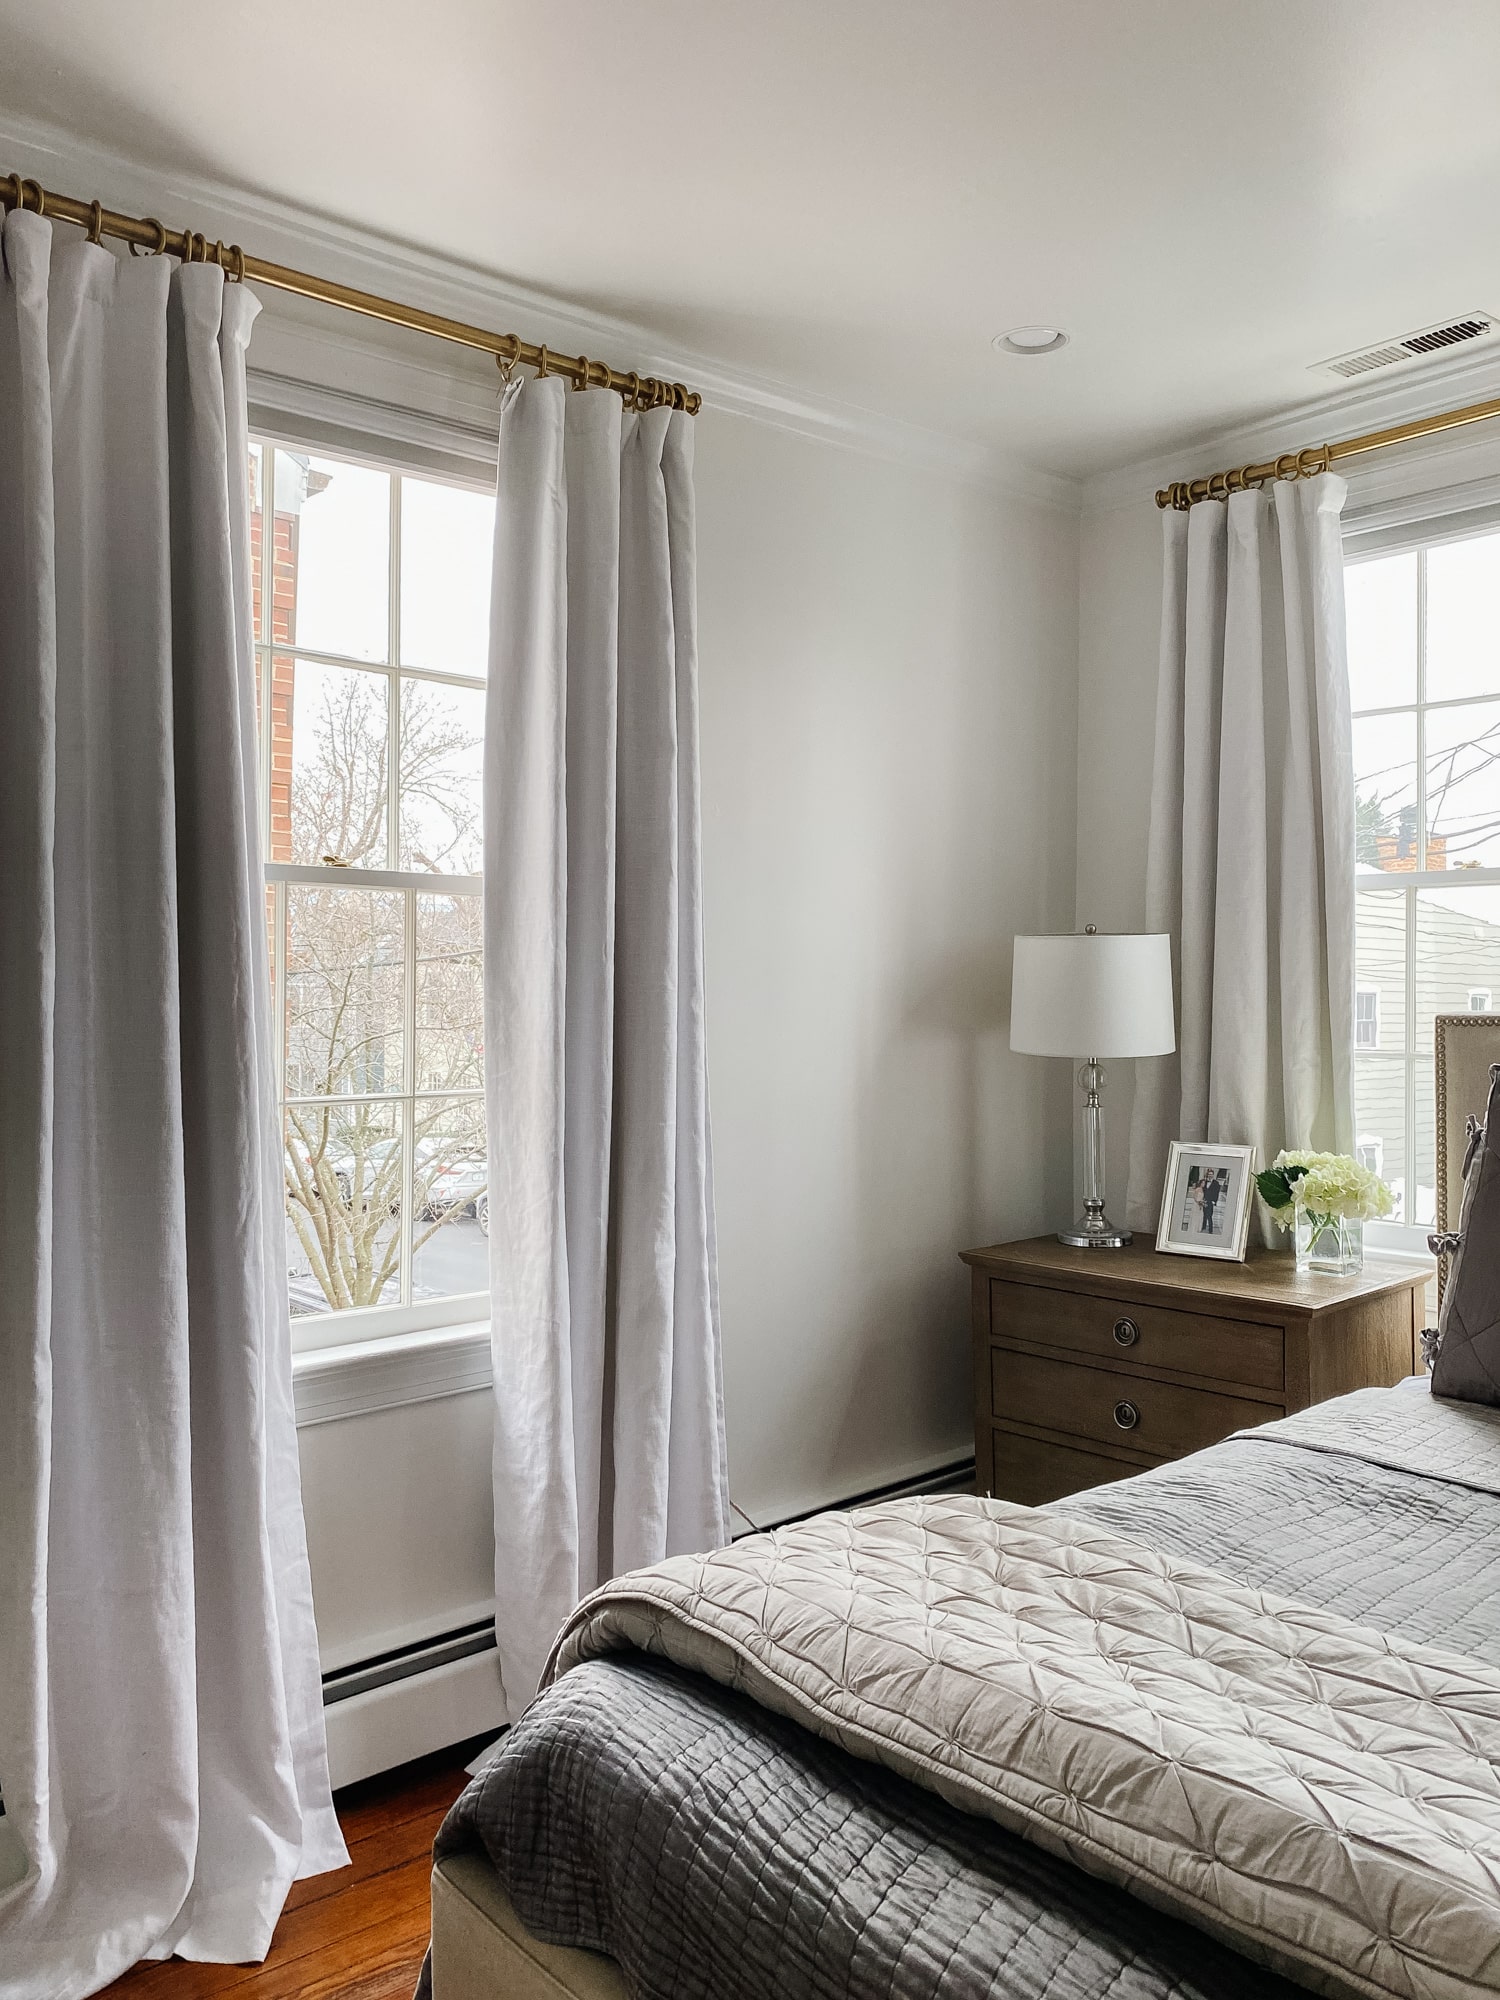
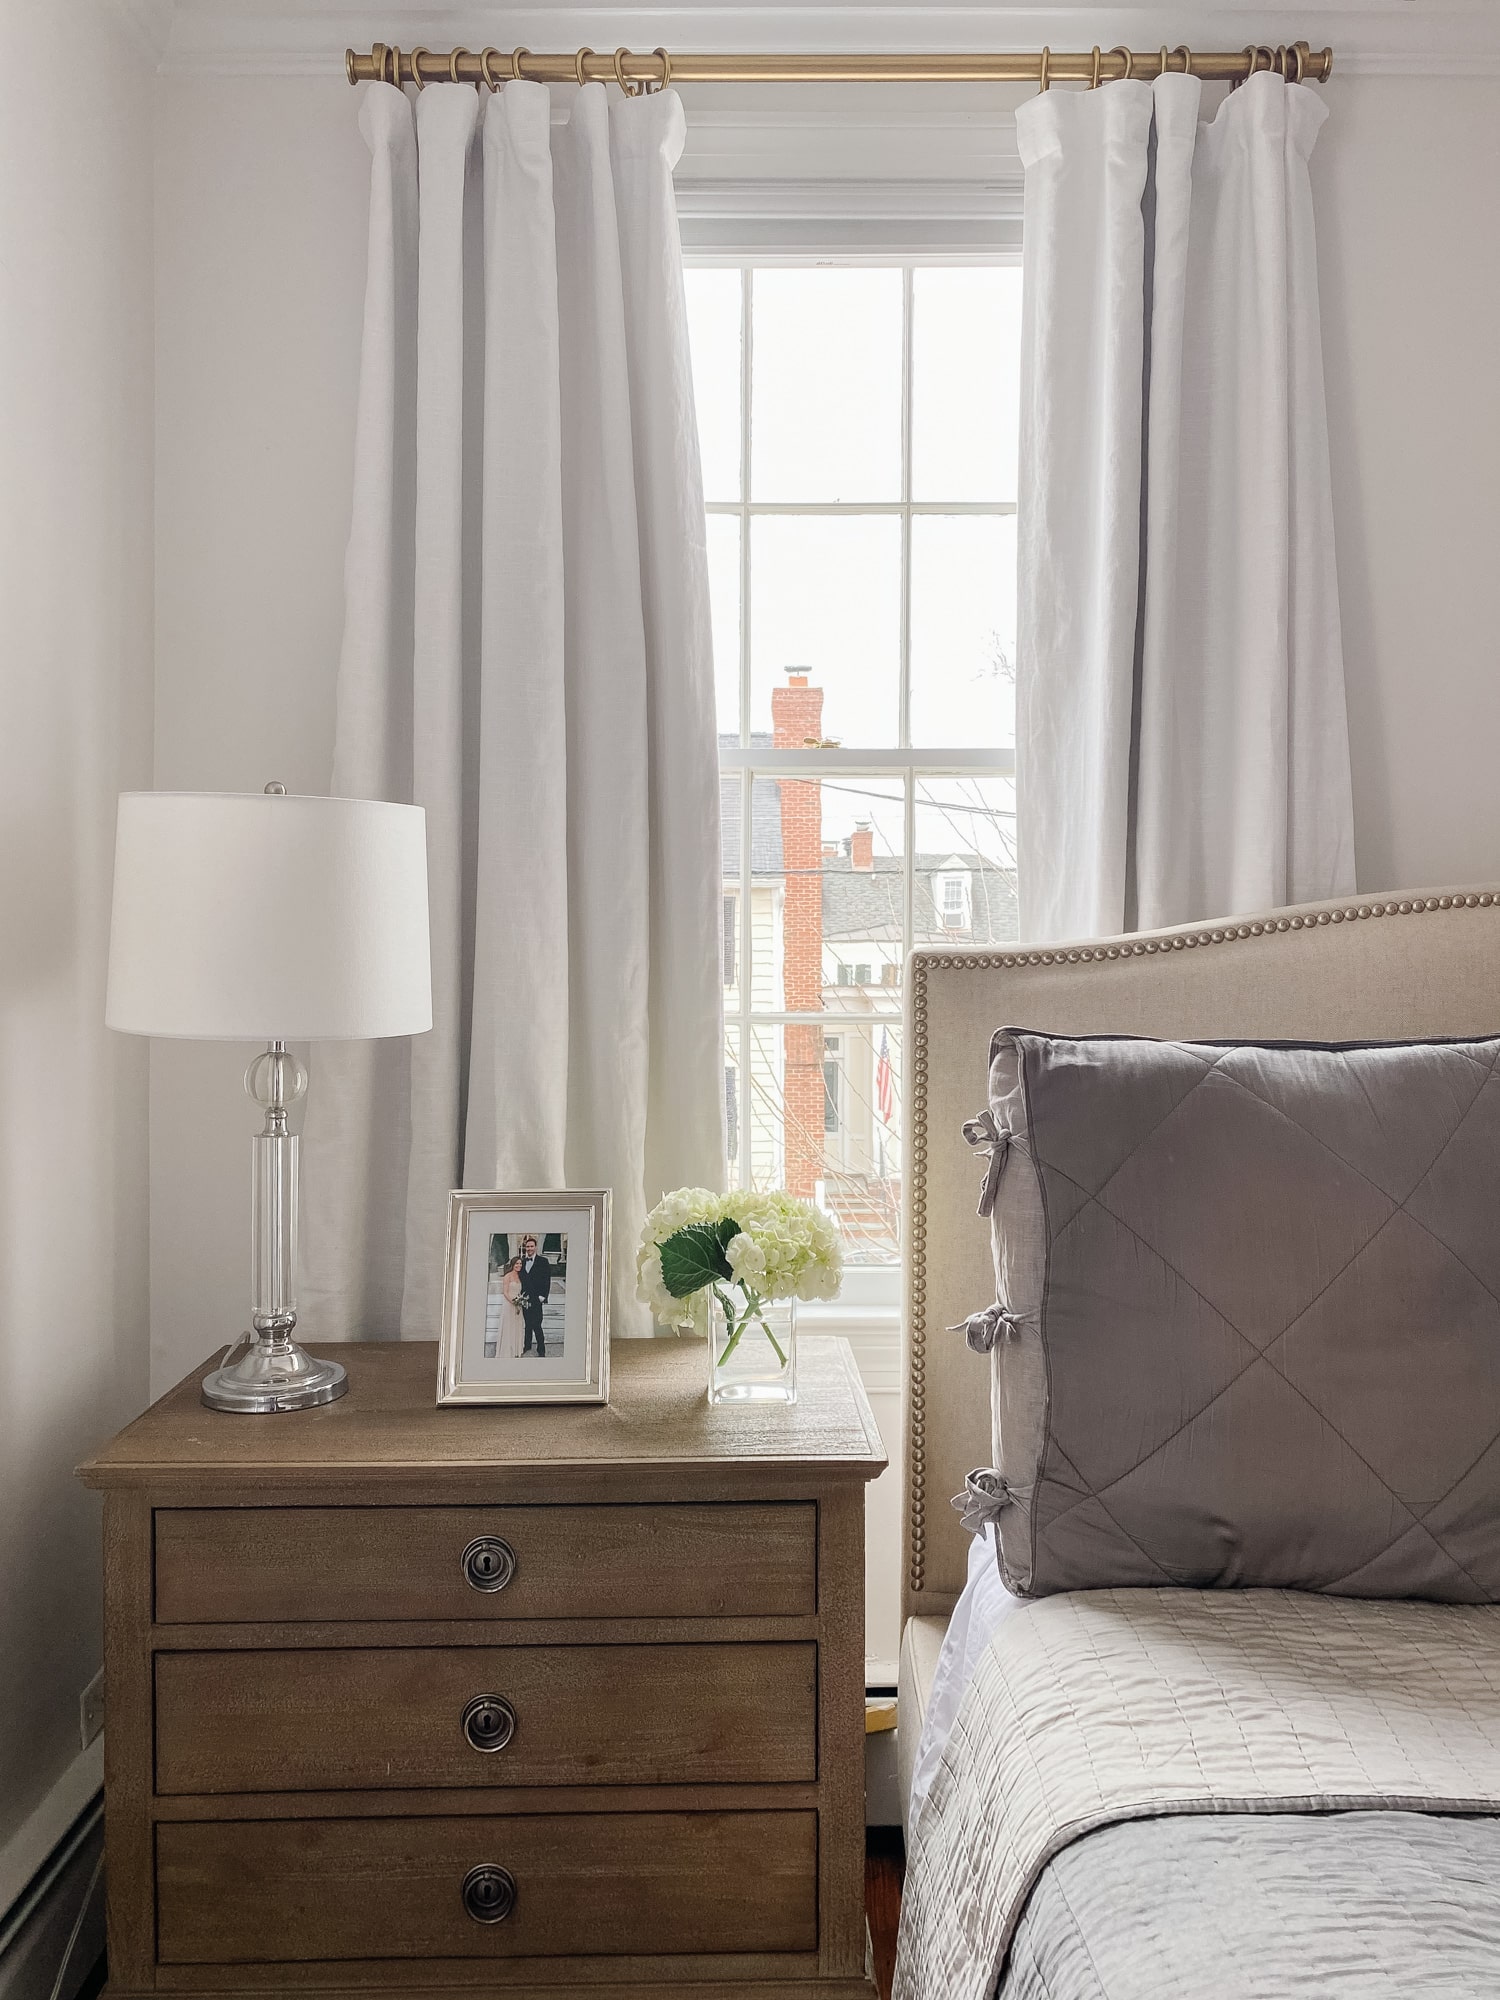
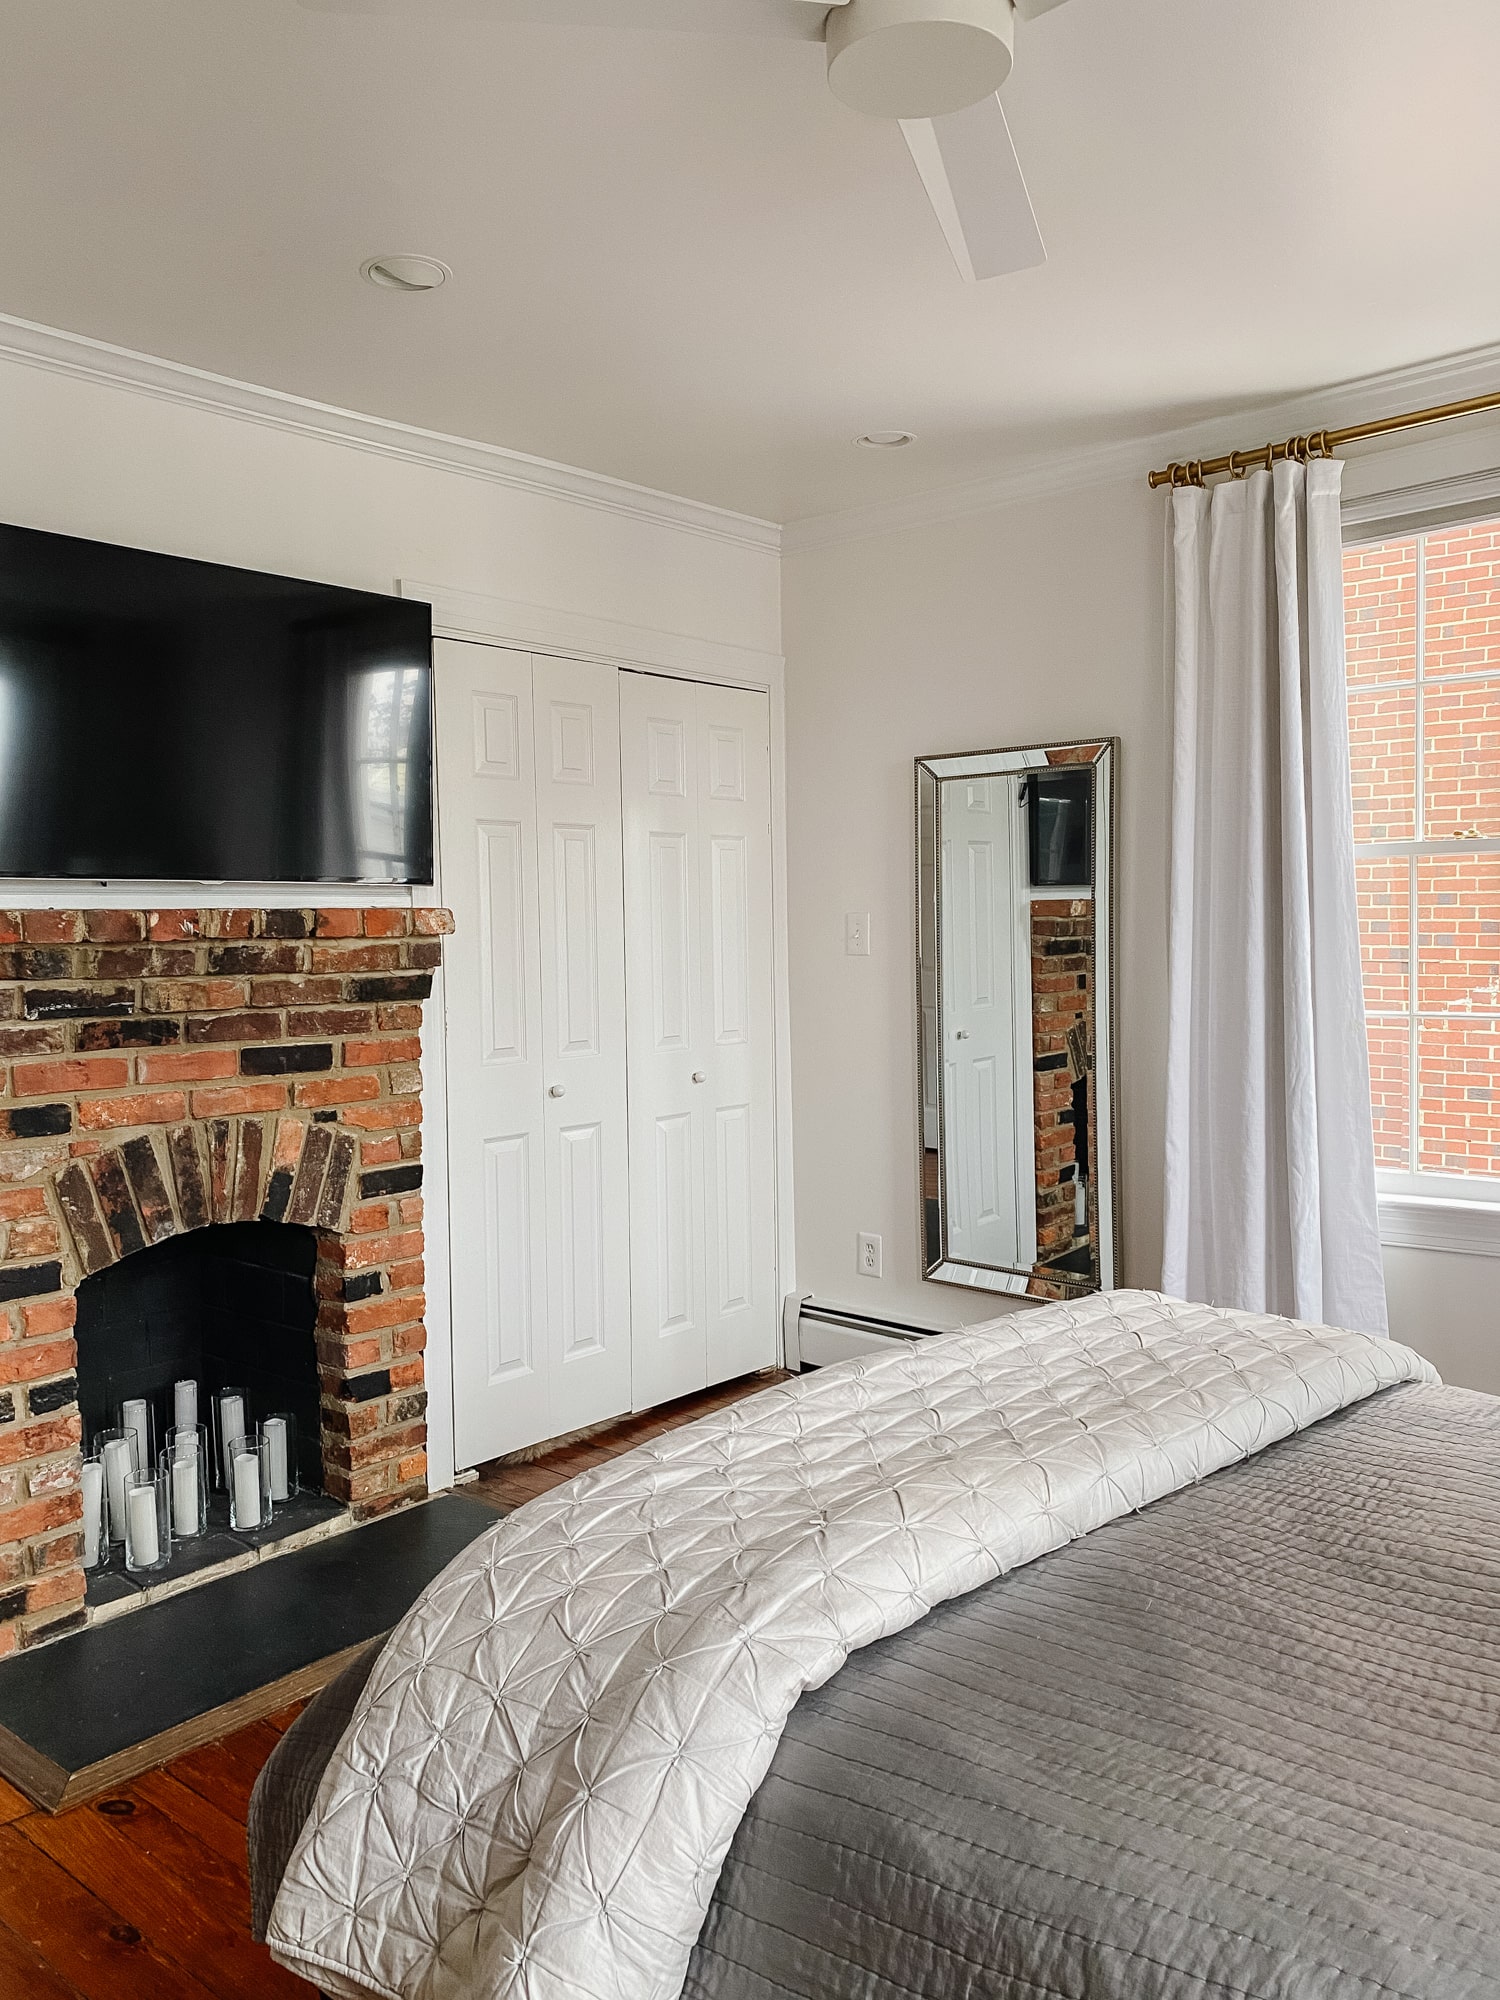
When you do have the height to work with, keep in mind that the higher you place the rod, the more height it will add to the room. This can be particularly helpful when trying to make a room appear larger than it is. Even though our rod isn’t too much higher than the window molding, we still feel the drapes really elongate the room and enlarge the space. Our semi-small room now looks so much grander – another key reason we’re so glad we went with drapes for our master. We wanted the space to feel polished and elegant (yet still somewhat casual). Our choice of a relaxed linen drape with a soft top did just the trick.
For a more formal, traditional look, I’d recommend choosing a pleated top. If learning toward a super casual vibe, roller shades or roman shades may be the best way to go.
FABRIC SELECTION & SIZING
From the start I knew I wanted white linen curtains. I’d seen them in so many inspiration photos and just loved the look! Considering my obsession with all things white, at first Bill wondered whether white drapes on white walls would be the best idea. A good point – It’d be a lot of white! In the end I assured him the texture of the fabric would warm up the space and the neutral color would soften the look 😁. We went with the Pottery Barn Emery Linen/Cotton collection and couldn’t be happier! The drapes look high quality and substantial for a reasonable price.
In terms of sizing, we had to consider how we wanted the drapes to fall. Did we want a little puddling on the floor or did we want them to line up right at the top of the floor. Personally, I love the look of puddling so that’s what we opted for. Often, the height of the curtain rod can just be adjusted to create a desired look, since we had no flexibility with curtain rod height, we had to make that decision in advance.
As we narrowed in on our final selection, we came across multiple height and width options. We made the correct choice based on the height of our ceilings and the size of our windows. If you’re searching for drapes, just an FYI- most brands should step you though exactly how to figure out sizing.
CHOOSING HARDWARE
And last but not least, the hardware. We opted for a brushed gold rod and stuck with Pottery Barn (UPDATE: they are now discontinued. I went ahead and linked to some alternatives at the bottom of the post). In terms of size, we ordered the 1.25 diameter rod and the large round rings (best for a standard sized space). The rings were optional, but we’re so glad we went with them because we’re always opening and closing our curtains and they slide so well (+ we love the way they look!). Would highly recommend!
After
SOURCES:
Drapes & Hardware (The exact hardware we used is no longer available. Here are a few alternatives: Option 1, Option 2, Option 3)
For another beautiful visual of these sources, hop over to this post.